Docker is a powerful tool that enables developers to create, deploy and run applications in a containerized environment. Using Docker to run Go projects has many advantages, including the ability to isolate your application from the underlying operating system, simplifying the deployment process, and allowing for greater scalability and flexibility. In this guide, we will walk through the steps to use Docker to run a Go project.
Step 1: Install Docker The first step to using Docker is to install it on your machine. Docker provides installation packages for all major operating systems. You can download the installation package from the Docker website and follow the instructions for your specific operating system.
Step 2: Create a Dockerfile A Dockerfile is a script that contains instructions on how to build a Docker image. To create a Dockerfile for your Go project, create a new file in your project directory and name it “Dockerfile”. Open the Dockerfile in a text editor and add the following code:
FROM golang:1.17-alpine WORKDIR /app COPY go.mod go.sum ./ RUN go mod download COPY . . RUN go build -o app EXPOSE 8080 CMD ["./app"]The first line specifies the base image to use, which is the official Golang image. The next line sets the working directory to /app, which is where our project files will be copied to. The COPY command copies the go.mod and go.sum files to the container, and the RUN command downloads the dependencies.
The second COPY command copies the entire project directory to the container. The next RUN command builds the Go project and generates an executable named “app”. The EXPOSE command tells Docker to expose port 8080, which is the port our application will listen on. Finally, the CMD command specifies the command to run when the container is started.
if you want to run a binary file, this might help
FROM scratch
COPY ./my-api-server /my-api-server
EXPOSE 8080
CMD [“/my-api-server”]
Step 3: Build the Docker image To build the Docker image, open a terminal window and navigate to your project directory. Run the following command:
docker build -t my-go-app .This command tells Docker to build an image using the Dockerfile in the current directory and tag it with the name “my-go-app”.
Step 4: Run the Docker container To run the Docker container, run the following command:
docker run -p 8080:8080 my-go-appThis command tells Docker to run a container using the “my-go-app” image and map port 8080 on the host machine to port 8080 in the container.
Step 5: Test the application Open a web browser and navigate to http://localhost:8080 to test the application. You should see the output of your Go application.
Generally, In this guide, we have walked through the steps to use Docker to run a Go project. By following these steps, you can easily containerize your Go applications and run them in a secure and isolated environment. Docker also simplifies the deployment process and allows for greater scalability and flexibility.
Hope this help
Bài viết khác
Use AWS to deploy your applications and services
Amazon Web Services (AWS) is a cloud computing platform that provides a wide range of services to help businesses and individuals build and deploy applications in the cloud. AWS offers a variety of services such as compute, storage, databases, networking, security, and more. In this guide, we will walk through the steps to get started […]
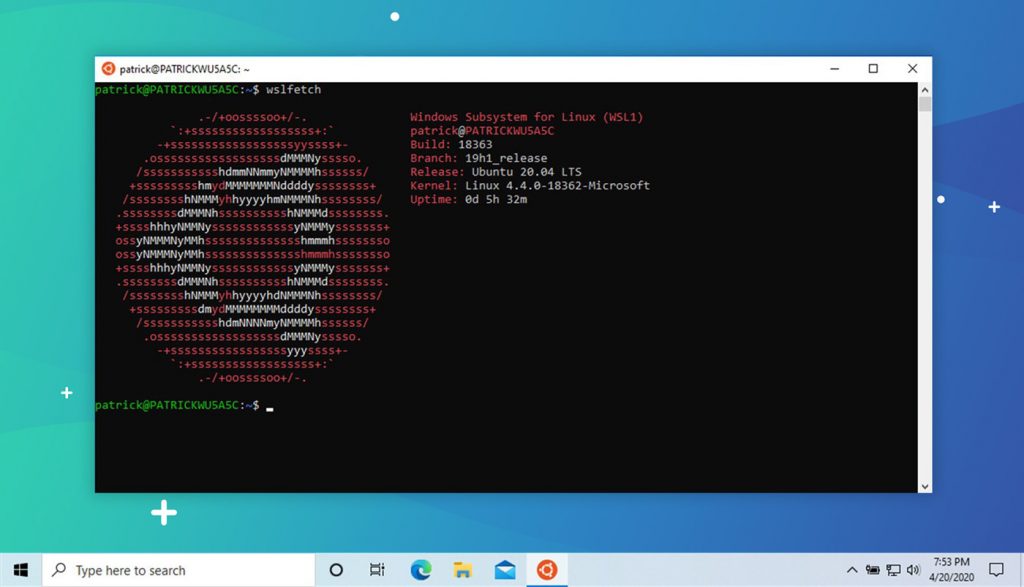
Install WSL for windows 10
1/ Enable feature Windows Subsystem for Linux Head to Control Panel > Programs > Turn Windows Features On Or Off. Enable the “Windows Subsystem for Linux” option in the list, and then click the “OK” button. Restart computer Now you can type on console: wsl –help 2/ Download ubuntu 18 from Microsoft Store or open […]
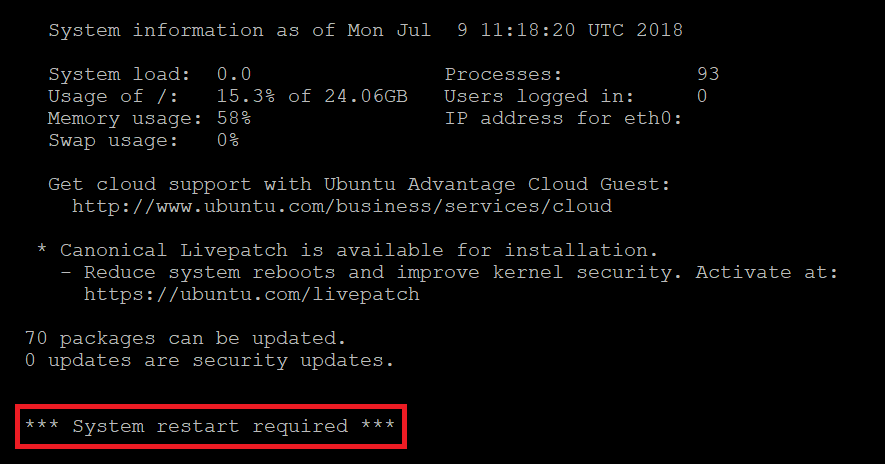
Make a binary file or script file run on startup on ubuntu
To make a binary file run on boot, you can create a startup script that will run the binary file when the operating system starts. The exact process for creating a startup script depends on the operating system you’re using. Here’s an example for a Linux operating system using the systemd init system: Create a […]

Explicit ssl bumping with Squid
To perform explicit SSL bumping with Squid, you need to perform the following steps: Generate a SSL certificate and key: You can either generate a self-signed certificate or obtain one from a certificate authority. The certificate and key will be used by Squid to encrypt and decrypt the traffic. Install and configure Squid: Squid is […]

Explicit ssl bumping with HAProxy
Basic guide About Explicit SSL bumping Explicit SSL bumping also known as “SSL interception,” is a feature of some reverse proxies and security appliances that allows the proxy to decrypt, inspect, and re-encrypt SSL/TLS encrypted traffic. The proxy acts as a man-in-the-middle, decrypting incoming SSL/TLS traffic and re-encrypting it before forwarding it to the destination […]

Nodes and Clusters
It is best practice to create clusters with at least three nodes to guarantee reliability and efficiency Every cluster has one master node, which is a unified endpoint within the cluster, and at least two worker nodes Here, we discover some points of nodes and clusters. Let’s begin Nodes and clusters are two of the […]

 Khoá học lập trình game con rắn cho trẻ em