Basic guide About Explicit SSL bumping
Explicit SSL bumping also known as “SSL interception,” is a feature of some reverse proxies and security appliances that allows the proxy to decrypt, inspect, and re-encrypt SSL/TLS encrypted traffic.
The proxy acts as a man-in-the-middle, decrypting incoming SSL/TLS traffic and re-encrypting it before forwarding it to the destination server. This allows the proxy to inspect and filter the encrypted traffic based on various security policies, such as filtering out malicious traffic, monitoring and controlling data transfers, and enforcing content filtering.
Explicit SSL bumping is typically used in enterprise networks to provide additional security and control over network traffic. However, it can also introduce security risks and violate the privacy of encrypted communication. It’s important to carefully consider the use of explicit SSL bumping and weigh the security benefits against the privacy risks before deploying it in a network.
To enable SSL bump in HAProxy, follow these steps:
Obtain a SSL certificate and key. You can either generate a self-signed certificate or obtain one from a certificate authority.
Create a new HAProxy frontend and backend configuration. In the frontend configuration, specify the SSL certificate and key with the crt and key options, and enable SSL by using the ssl option. In the backend configuration, specify the target servers to which HAProxy will forward requests.
In the frontend configuration, add a reqadd directive to insert a header indicating that SSL bumping is in effect. This header can be used by the backend servers to determine if a request has been SSL-bumped or not.
In the backend configuration, configure the backend servers to validate the header inserted by HAProxy. This can be done by using the http-request set-header directive to add a header indicating that SSL bumping has taken place.
Start or reload HAProxy with the new configuration.
Here’s an example HAProxy configuration that demonstrates SSL bumping:
global
        log 127.0.0.1 local0 notice
        maxconn 4096
        user haproxy
        group haproxy

defaults
        log global
        mode http
        option httplog
        option dontlognull
        retries 3
        option redispatch
        timeout connect 5000
        timeout client 50000
        timeout server 50000

frontend http-in
        bind *:80
        mode http
        default_backend servers

frontend https-in
        bind *:443 ssl crt /path/to/cert.pem key /path/to/key.pem
        mode http
        reqadd X-Forwarded-Proto:\ https
        default_backend servers

backend servers
        mode http
        balance roundrobin
        server server1 192.168.1.100:80 check
        server server2 192.168.1.101:80 check
        http-request set-header X-SSL-Bumped true if { hdr(X-Forwarded-Proto) -i https }
Bài viết khác

Use AWS to deploy your applications and services
Amazon Web Services (AWS) is a cloud computing platform that provides a wide range of services to help businesses and individuals build and deploy applications in the cloud. AWS offers a variety of services such as compute, storage, databases, networking, security, and more. In this guide, we will walk through the steps to get started […]

Use docker to run go project
Docker is a powerful tool that enables developers to create, deploy and run applications in a containerized environment. Using Docker to run Go projects has many advantages, including the ability to isolate your application from the underlying operating system, simplifying the deployment process, and allowing for greater scalability and flexibility. In this guide, we will […]
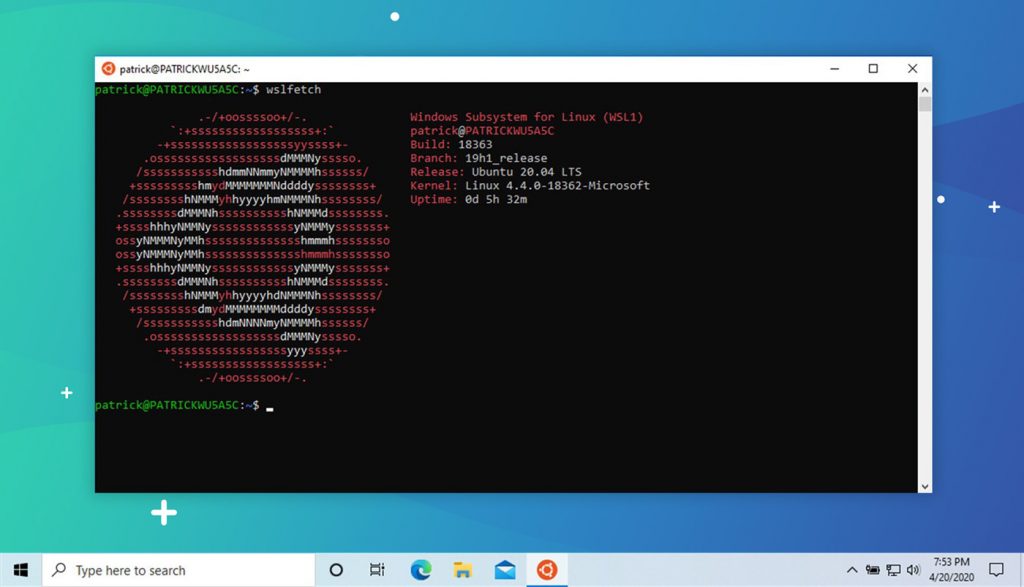
Install WSL for windows 10
1/ Enable feature Windows Subsystem for Linux Head to Control Panel > Programs > Turn Windows Features On Or Off. Enable the “Windows Subsystem for Linux” option in the list, and then click the “OK” button. Restart computer Now you can type on console: wsl –help 2/ Download ubuntu 18 from Microsoft Store or open […]
Make a binary file or script file run on startup on ubuntu
To make a binary file run on boot, you can create a startup script that will run the binary file when the operating system starts. The exact process for creating a startup script depends on the operating system you’re using. Here’s an example for a Linux operating system using the systemd init system: Create a […]

Explicit ssl bumping with Squid
To perform explicit SSL bumping with Squid, you need to perform the following steps: Generate a SSL certificate and key: You can either generate a self-signed certificate or obtain one from a certificate authority. The certificate and key will be used by Squid to encrypt and decrypt the traffic. Install and configure Squid: Squid is […]

Nodes and Clusters
It is best practice to create clusters with at least three nodes to guarantee reliability and efficiency Every cluster has one master node, which is a unified endpoint within the cluster, and at least two worker nodes Here, we discover some points of nodes and clusters. Let’s begin Nodes and clusters are two of the […]


 Khoá học lập trình game con rắn cho trẻ em