Amazon Web Services (AWS) is a cloud computing platform that provides a wide range of services to help businesses and individuals build and deploy applications in the cloud. AWS offers a variety of services such as compute, storage, databases, networking, security, and more. In this guide, we will walk through the steps to get started with AWS.
Step 1: Create an AWS Account The first step to using AWS is to create an AWS account. To create an account, visit the AWS website and click on the “Create a Free Account” button. Follow the on-screen instructions to create your account. You will be required to provide your credit card details, but AWS offers a free tier with limited access to many of its services.
Step 2: Choose a Service Once you have created an account, you can start exploring the different services offered by AWS. AWS offers a wide range of services, so it’s important to choose the one that best meets your needs. For example, if you want to deploy a website, you can use Amazon S3 to store your static content, Amazon EC2 to run your web servers, and Amazon RDS to manage your database.
Step 3: Create an Instance To create an instance, log in to the AWS Management Console and navigate to the EC2 dashboard. Click on the “Launch Instance” button to start the instance creation process. You will be prompted to select an Amazon Machine Image (AMI), which is a pre-configured virtual machine that you can use to create your instance.
Step 4: Configure Instance Settings After selecting an AMI, you will be prompted to configure instance settings such as the instance type, network settings, security groups, and more. These settings will determine the resources allocated to your instance and how it can be accessed. You can also configure additional features such as load balancing and auto-scaling to ensure your application is highly available and can handle fluctuations in traffic.
Step 5: Connect to Your Instance Once your instance is up and running, you can connect to it using a remote desktop connection or SSH. AWS provides a web-based console for connecting to your instances, or you can use third-party tools such as PuTTY or SSH clients.
Step 6: Manage Your Resources AWS provides a variety of tools to help you manage your resources. You can use the AWS Management Console to monitor and manage your instances, as well as set up alerts and notifications to help you stay informed about the health of your resources. AWS also provides APIs and command-line tools for automation and scripting.
Overall, AWS provides a powerful and flexible platform for building and deploying applications in the cloud. By following the steps outlined in this guide, you can quickly get started with AWS and start exploring the different services offered. AWS offers a variety of resources to help you learn more about its services, including documentation, tutorials, and support forums.
Hope this help
Bài viết khác

Use docker to run go project
Docker is a powerful tool that enables developers to create, deploy and run applications in a containerized environment. Using Docker to run Go projects has many advantages, including the ability to isolate your application from the underlying operating system, simplifying the deployment process, and allowing for greater scalability and flexibility. In this guide, we will […]
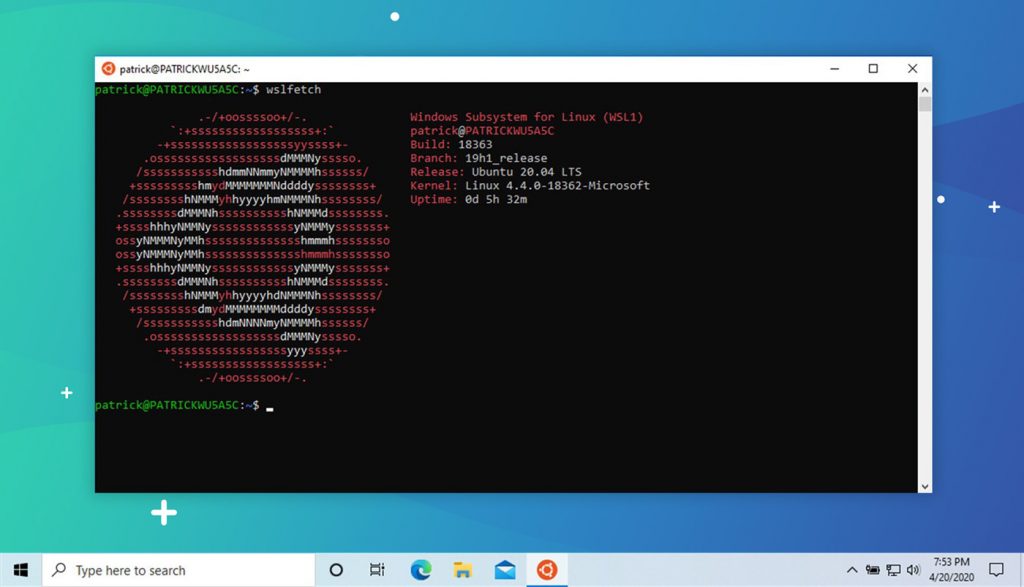
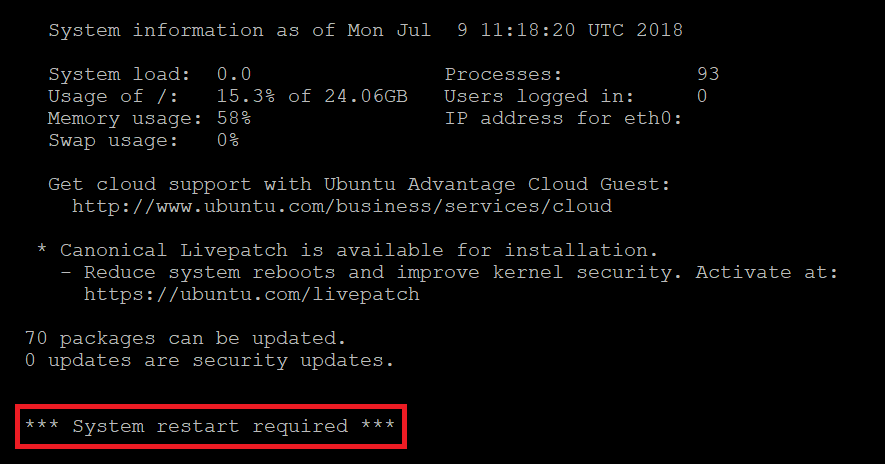
Install WSL for windows 10
1/ Enable feature Windows Subsystem for Linux Head to Control Panel > Programs > Turn Windows Features On Or Off. Enable the “Windows Subsystem for Linux” option in the list, and then click the “OK” button. Restart computer Now you can type on console: wsl –help 2/ Download ubuntu 18 from Microsoft Store or open […]
Make a binary file or script file run on startup on ubuntu
To make a binary file run on boot, you can create a startup script that will run the binary file when the operating system starts. The exact process for creating a startup script depends on the operating system you’re using. Here’s an example for a Linux operating system using the systemd init system: Create a […]

Explicit ssl bumping with Squid
To perform explicit SSL bumping with Squid, you need to perform the following steps: Generate a SSL certificate and key: You can either generate a self-signed certificate or obtain one from a certificate authority. The certificate and key will be used by Squid to encrypt and decrypt the traffic. Install and configure Squid: Squid is […]

Explicit ssl bumping with HAProxy
Basic guide About Explicit SSL bumping Explicit SSL bumping also known as “SSL interception,” is a feature of some reverse proxies and security appliances that allows the proxy to decrypt, inspect, and re-encrypt SSL/TLS encrypted traffic. The proxy acts as a man-in-the-middle, decrypting incoming SSL/TLS traffic and re-encrypting it before forwarding it to the destination […]

Nodes and Clusters
It is best practice to create clusters with at least three nodes to guarantee reliability and efficiency Every cluster has one master node, which is a unified endpoint within the cluster, and at least two worker nodes Here, we discover some points of nodes and clusters. Let’s begin Nodes and clusters are two of the […]


 Khoá học lập trình game con rắn cho trẻ em