# About Jenkins
Jenkins is an open-source automation server that automates the repetitive technical tasks involved in the continuous integration and delivery of software. Jenkins is Java-based and can be installed from Ubuntu packages or by downloading and running its web application archive (WAR) file — a collection of files that make up a complete web application to run on a server.
# How to install Jenkins on Centos 7
To install Jenkins on Centos 7, follow my bash code (or you can save it to a jenkins.sh file, then run sh jenkins.sh)
echo "Begin bash code to install Jenkins on Centos 7 server - code by Tran Viet Huy"
echo "1. Jenkins is a Java application, so the first step is to install Java. Run the following command to install the OpenJDK 8 package:"
sudo yum install java-1.8.0-openjdk-devel -y
echo "2.The next step is to enable the Jenkins repository. To do that, import the GPG key using the following curl command:"
sudo wget -O /etc/yum.repos.d/jenkins.repo https://pkg.jenkins.io/redhat-stable/jenkins.repo
sudo rpm --import https://pkg.jenkins.io/redhat-stable/jenkins.io.key
#curl --silent --location http://pkg.jenkins-ci.org/redhat-stable/jenkins.repo | sudo tee /etc/yum.repos.d/jenkins.repo
#sudo rpm --import https://jenkins-ci.org/redhat/jenkins-ci.org.key
echo "3.Once the repository is enabled, install the latest stable version of Jenkins by typing:"
sudo yum install jenkins -y
echo "4.After the installation process is completed, start the Jenkins service with:"
sudo systemctl start jenkins
echo "5. Check Service status again"
sudo systemctl status jenkins
echo "6. Check current Firewall port, Open port 8080, then reload and check again "
firewall-cmd --list-all
firewall-cmd --zone=public --add-port=8080/tcp --permanent
firewall-cmd --reload
firewall-cmd --list-all
echo "More info:
About the error \"Public key for jenkins-2.249.2-1.1.noarch.rpm is not installed\"
Get the right public key here:
https://archives.jenkins-ci.org/redhat-stable/
"
As the bash code describe everything in detail, we can summarize them:
- Install open java
- Install jenkins
- Open port 8080
- Start jenkins service
# And the happiest moment: login to jenkins admin on port 8080
Open your web browser and fill in the address:
IP_address:8080
And now, we are at
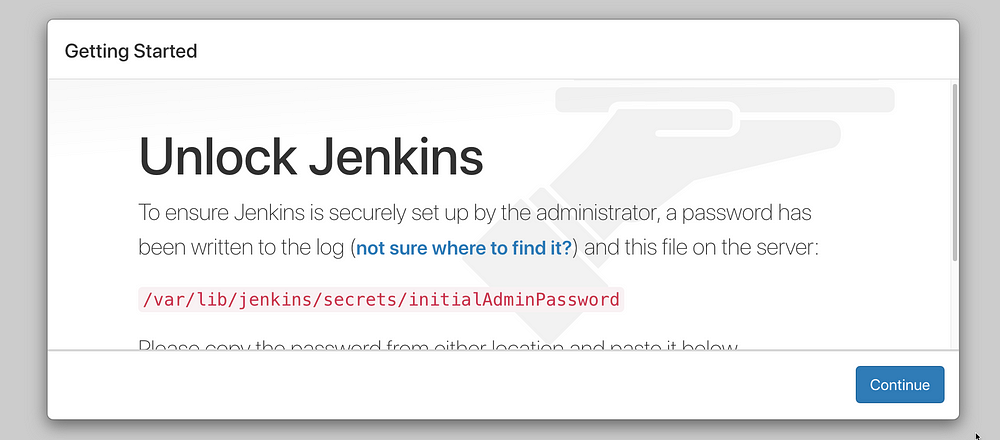
You can view Jenkins initial Admin Password with this command line
nano /var/lib/jenkins/secrets/initialAdminPassword
or
vi /var/lib/jenkins/secrets/initialAdminPassword
Now, you have the admin password, fill in the password area and press Continue
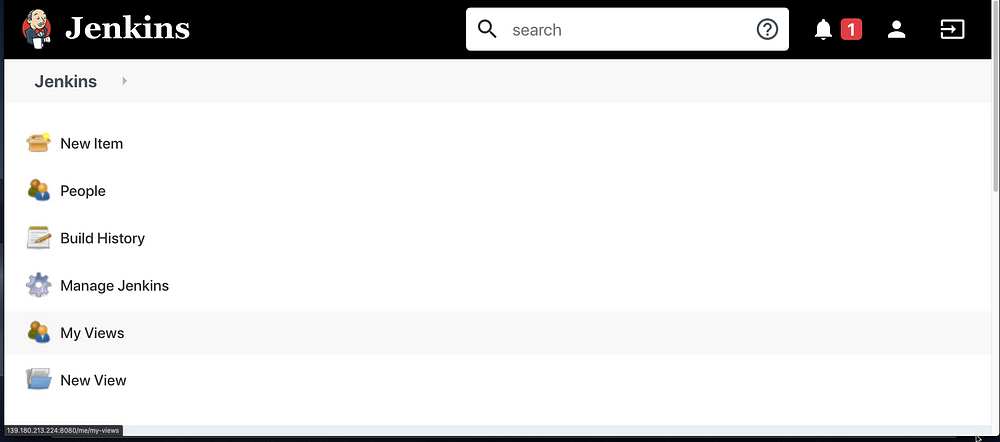
Perfect, we are in
# Next step, install plugins and create first admin account
# Ref
Bài viết khác
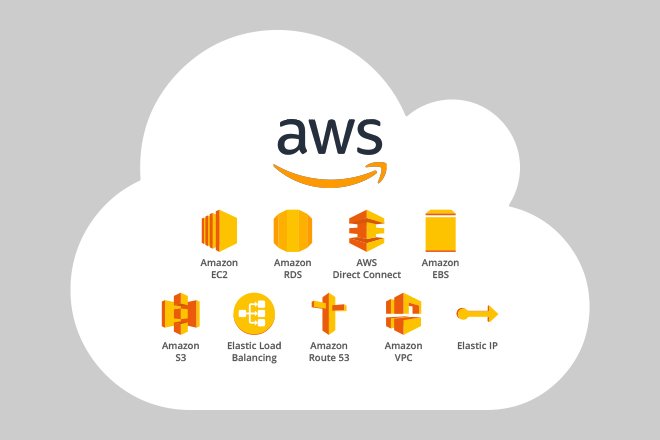
Use AWS to deploy your applications and services
Amazon Web Services (AWS) is a cloud computing platform that provides a wide range of services to help businesses and individuals build and deploy applications in the cloud. AWS offers a variety of services such as compute, storage, databases, networking, security, and more. In this guide, we will walk through the steps to get started […]

Use docker to run go project
Docker is a powerful tool that enables developers to create, deploy and run applications in a containerized environment. Using Docker to run Go projects has many advantages, including the ability to isolate your application from the underlying operating system, simplifying the deployment process, and allowing for greater scalability and flexibility. In this guide, we will […]
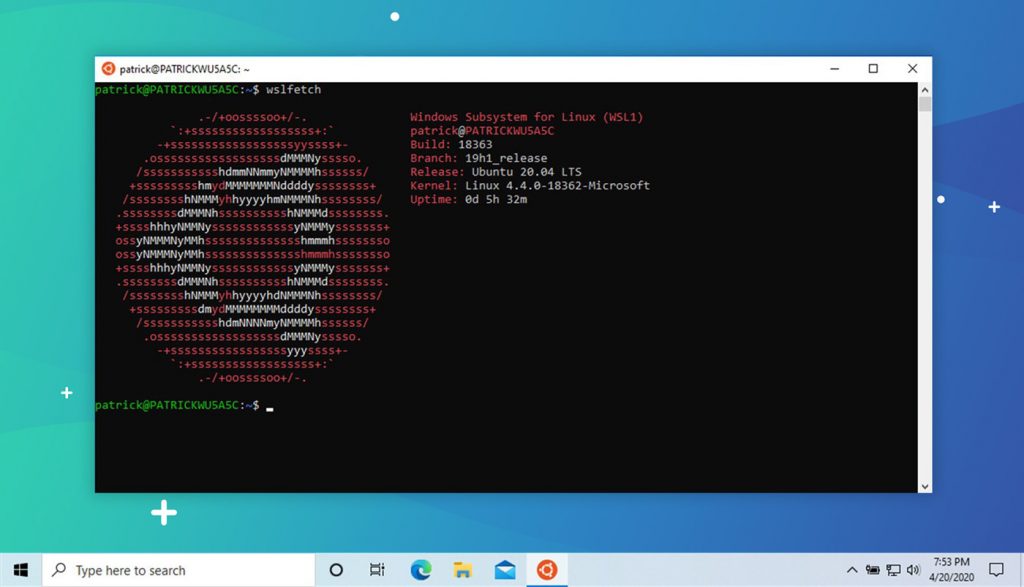
Install WSL for windows 10
1/ Enable feature Windows Subsystem for Linux Head to Control Panel > Programs > Turn Windows Features On Or Off. Enable the “Windows Subsystem for Linux” option in the list, and then click the “OK” button. Restart computer Now you can type on console: wsl –help 2/ Download ubuntu 18 from Microsoft Store or open […]
Make a binary file or script file run on startup on ubuntu
To make a binary file run on boot, you can create a startup script that will run the binary file when the operating system starts. The exact process for creating a startup script depends on the operating system you’re using. Here’s an example for a Linux operating system using the systemd init system: Create a […]

Explicit ssl bumping with Squid
To perform explicit SSL bumping with Squid, you need to perform the following steps: Generate a SSL certificate and key: You can either generate a self-signed certificate or obtain one from a certificate authority. The certificate and key will be used by Squid to encrypt and decrypt the traffic. Install and configure Squid: Squid is […]

Explicit ssl bumping with HAProxy
Basic guide About Explicit SSL bumping Explicit SSL bumping also known as “SSL interception,” is a feature of some reverse proxies and security appliances that allows the proxy to decrypt, inspect, and re-encrypt SSL/TLS encrypted traffic. The proxy acts as a man-in-the-middle, decrypting incoming SSL/TLS traffic and re-encrypting it before forwarding it to the destination […]

 Khoá học lập trình game con rắn cho trẻ em