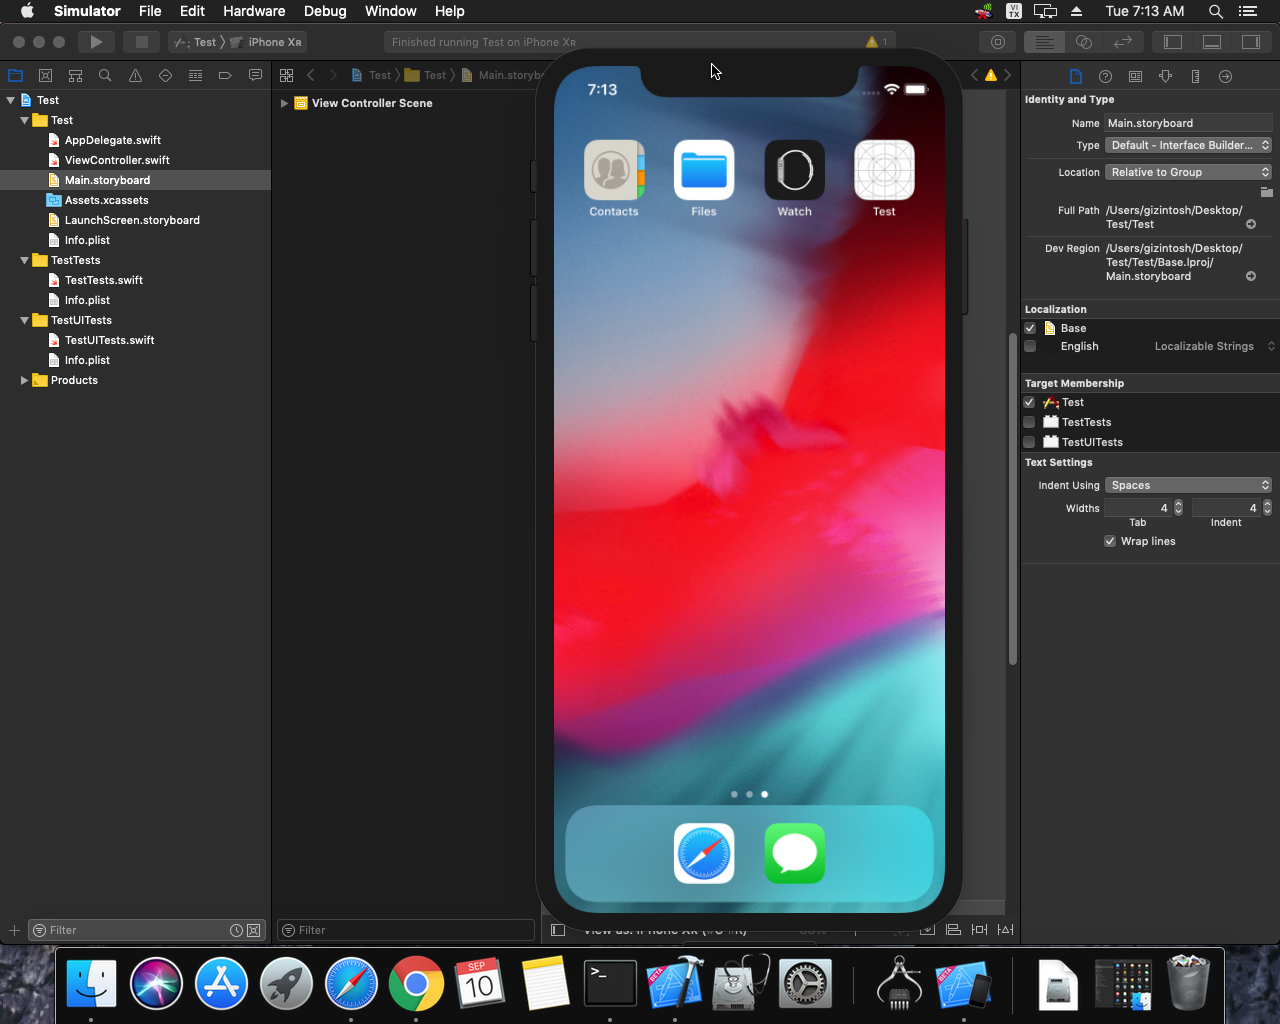
To upload your IPA file to your own server, you can follow these steps:
Create a web server: You’ll need a web server to host your IPA file. You can either set up a physical server or use a cloud-based server provider such as Amazon Web Services (AWS) or Google Cloud Platform (GCP).
Upload the IPA file: Once you have set up your web server, you can upload the IPA file to it using a file transfer protocol (FTP) client or a web interface provided by your cloud server provider.
Create a download page: Next, create a download page on your web server where users can download the IPA file. You can create this page using HTML, PHP, or another scripting language.
Share the download link: Share the download link to your download page with your users. You can send the link via email or share it on social media or other online platforms.
Test the installation: Before you share the link with your users, test the installation process to make sure everything is working as expected. Connect your iOS device to your computer, open iTunes, and install the IPA file by dragging it onto the “Apps” section.
Note: Before distributing an IPA file, make sure that it is properly signed with an Apple Developer Certificate, as unsigned IPA files will not be installed on iOS devices. If the IPA file is not properly signed, you will need to sign it with an Apple Developer Certificate before uploading it to your server.
To sign an IPA file, you will need an Apple Developer Certificate, which requires enrolling in the Apple Developer Program. Once enrolled, you can sign the IPA file using the following steps:
Download and install Xcode: Xcode is the official development environment for iOS and macOS. You will need Xcode to sign your IPA file.
Create an App ID: An App ID is a unique identifier for your app. You can create an App ID in the Apple Developer Center.
Create a Provisioning Profile: A Provisioning Profile is a collection of digital entities that uniquely ties developers and devices to an authorized development team and enables a device to be used for testing. You can create a Provisioning Profile in the Apple Developer Center.
Export the IPA file: In Xcode, go to the “Archive” section and select the build that you want to sign. Then, choose “Export” > “Export as IPA.”
Sign the IPA file: Use the following command to sign the IPA file using Xcode:
xcrun -sdk iphoneos PackageApplication -v-o --sign " " --embed
Verify the signature: You can verify the signature of the signed IPA file by using the following command:
codesign --verify --verbose=4
Note: The signing process can be complicated, and it’s important to understand the concepts of App IDs, Provisioning Profiles, and Apple Developer Certificates to properly sign an IPA file. If you’re not familiar with these concepts, it’s recommended to consult the Apple Developer Documentation for more information.


 Khoá học lập trình game con rắn cho trẻ em


