
Basic guide
Setup Charles on macbook
Step 3: Install Charles app for your macbook
Step 4: Install Charles root certificate
Charles > Help > SSL Proxying > Install Charles Root Certificate
Note: remember to change settings to always trust for this Certificate in Keychain Access
(Search : Charles in your keychain access)
Step 5: Setting SSL Proxy setting
Charles > Proxy > SSL Proxy Setting :
Enable SSL Proxying
Location : add *.*
add * , port 443 ( or * )
Step 6: Enable capture SSL
Click on the request, choose SSL Proxying : Enable
Step 7: Restart charles
Setup your iphone
Step 1: Setup wifi connection to connect via proxy server run on your macbook
Go to Settings > Wifi > Click info button for your wifi > Configure Proxy > Manual
Server => fill your laptop ‘s ip address, eg: 192.168.1.7
Port: 8888 (charles proxy default port)
Authentication: off
Step 2: Setup Proxy Certificate
Visit
https://chls.pro/ssl
Download certificate
Go to Settings > Profile and certificate
Install Charles Proxy Certificate
Step 3: Trust Certificate
Go to Settings > General > About > Certificate Trust Settings
Enable Charles Proxy Certificate
Setup your android device
Use the following steps to configure your Android device to use Charles proxy:
Go to Settings > Wifi.
Press and hold down the power key on the Wifi Network device you are currently connected to.
When the modal displays, select Modify Network.
Select Show Advanced Options to display proxying options.
Under Proxy, select Manual.
In the Proxy Host Name box, enter the IPV4 Address you previously saved from your development machine.
In the Proxy Port field, enter 8888, as when configuring Charles.
undefined
Click Save to save the settings and exit.
Open a browser on your device to test.
Charles displays a dialog prompting you to allow or deny SSL proxying.
Click Allow.
If you are not prompted to allow SSL proxying, restart Charles and try again.
Go to http://charlesproxy.com/getssl from your device and download the Charles SSL certificate.
On newer versions of Android, you may get an error on downloading, such as “download unsuccessful”.
If this happens, use the following instructions:
Go to Help > SSL Proxying > Save Charles Root Certificate.
undefined
Change the file type from the default .pem to .cer and save in a location that you will remember for later.
Transfer the .cer file to your device using an SD Card, USB Cable, or remote transfer such as Google Drive.
Open the file from a file manager such as the Android File Manager, or a third party file manager such as File Commander.
You will be prompted to save the certificate.
Continue with the remaining steps.
Name the certificate and okay it as a trusted certificate.
Ensure that you disable or remove it when complete.
Once the certificate is installed, you are prompted to set up a PIN.
When prompted, add the new PIN.
Additional Configuration Steps for Android N and Above
As of Android N, additional steps area required to to add configuration to your application so that it trusts the SSL certificates generated by Charles SSL proxying. This means that you can only use SSL proxying with applications that you control.
In order to configure your app to trust Charles, you must first add a Network Security Configuration File to your app. This file can override the system default, enabling your app to trust user-installed CA certificates, such as the Charles Root Certificate.
Handle error unknow on capturing request
https://stackoverflow.com/questions/33322334/charles-proxy-response-unreadable
Can no longer browse without Charles running
It is likely that your browser’s proxy settings have been changed to use Charles and then, for some reason, not changed back.
First try starting and quiting Charles normally to see if that corrects the problem. Because if Charles is stopped abnormally (such as a crash) it doesn’t have an opportunity to reset your proxy settings. It should notice that when it is restarted.
If that doesn’t work you’ll need to fix your proxy settings manually. How you do this depends on what application is misconfigured:
Windows / Internet Explorer
First quit Charles. Then go to the Internet Options in your Control Panel. Go to the Connections tab. Click on the LAN Settings. You’ll see a Proxy panel. Uncheck the Use a Proxy checkbox. Click OK until you’ve closed the Internet Options.
Mac OS X
Go to your System Preferences. Open the Network preferences. Choose the appropriate Network Port (you may need to reconfigure more than one if you have more than one) and click Configure. Go to the Proxies tab. Look in the list of proxy servers, you will see that Web Proxy and Secure Web Proxy are active. Uncheck those or reconfigure them as required for your network. Click Apply Now and then close the Network preferences.
Firefox
First quit Charles. Then go to the Firefox Preferences window, General tab, click Connection Settings. Then choose “Direct Connection to the Internet” or enter whatever proxy settings are required for your network. Click OK and then close the Preferences window.
Use ProxyMan
https://proxyman.io/
More document
https://www.charlesproxy.com/documentation/faqs/using-charles-from-an-iphone/
https://community.tealiumiq.com/t5/Tealium-for-Android/Setting-up-Charles-to-Proxy-your-Android-Device/ta-p/5121

Bài viết khác
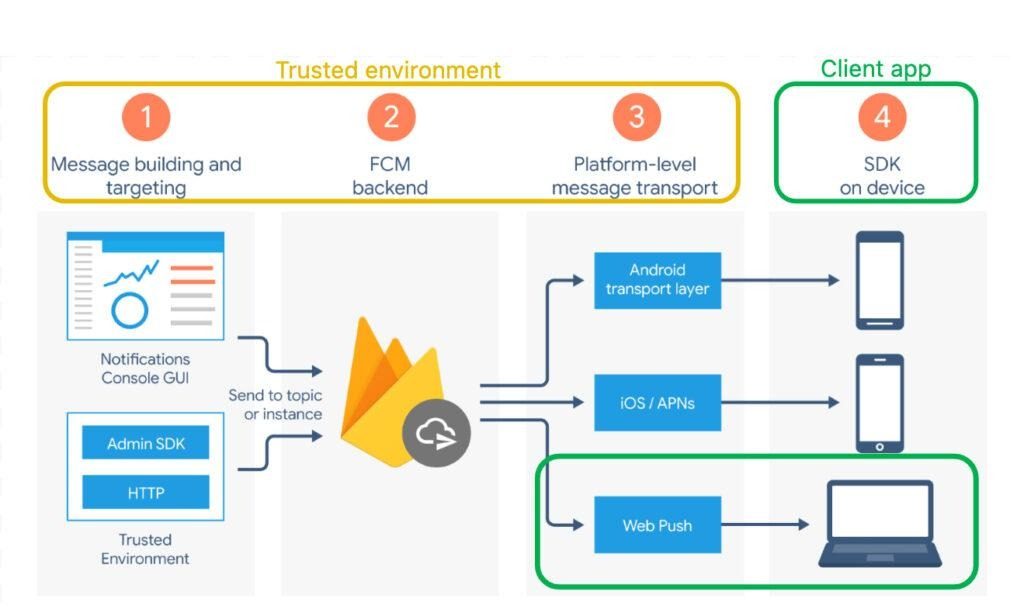
Firebase Cloud Messaging (FCM)
Firebase Cloud Messaging (FCM) 1. Tổng quan về Firebase Cloud Messaging Firebase Cloud Messaging (FCM) là dịch vụ nhắn tin đám mây do Google cung cấp, cho phép ứng dụng gửi và nhận thông báo hoặc dữ liệu từ máy chủ đến các thiết bị như điện thoại Android, iPhone và trình duyệt web. FCM […]
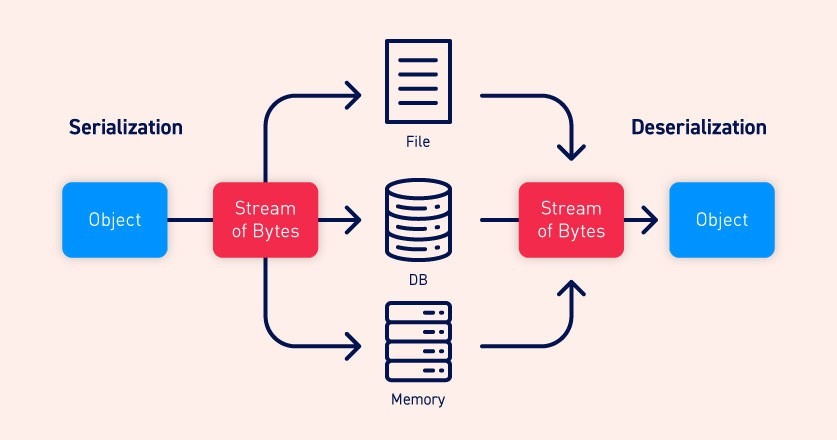
JSON Serialization / Deserialization trong Flutter và Dart
JSON Serialization / Deserialization trong Flutter và Dart 1. Tổng quan về JSON Serialization và Deserialization Trong quá trình phát triển ứng dụng bằng Flutter và Dart, JSON Serialization và Deserialization là hai cơ chế quan trọng giúp ứng dụng trao đổi dữ liệu với máy chủ, lưu trữ thông tin và chuyển đổi dữ […]

Responsive UI – Responsive Navigation và bố cục ứng dụng trong Flutter
Responsive Navigation và bố cục ứng dụng trong Flutter Responsive Navigation và Responsive Layout là hai thành phần quan trọng trong quá trình xây dựng ứng dụng Flutter có khả năng hoạt động tốt trên nhiều kích thước màn hình. Một ứng dụng hiện đại không chỉ cần hiển thị giao diện đẹp trên điện […]

Responsive UI – Responsive Typography và nội dung trong Flutter
Responsive Typography và nội dung trong Flutter 1. Responsive Typography 1.1. Khái niệm Responsive Typography Responsive Typography là kỹ thuật thiết kế và điều chỉnh cách trình bày văn bản để nội dung luôn dễ đọc, dễ hiểu và phù hợp với không gian hiển thị trên nhiều loại thiết bị. Trong Flutter, kỹ thuật […]
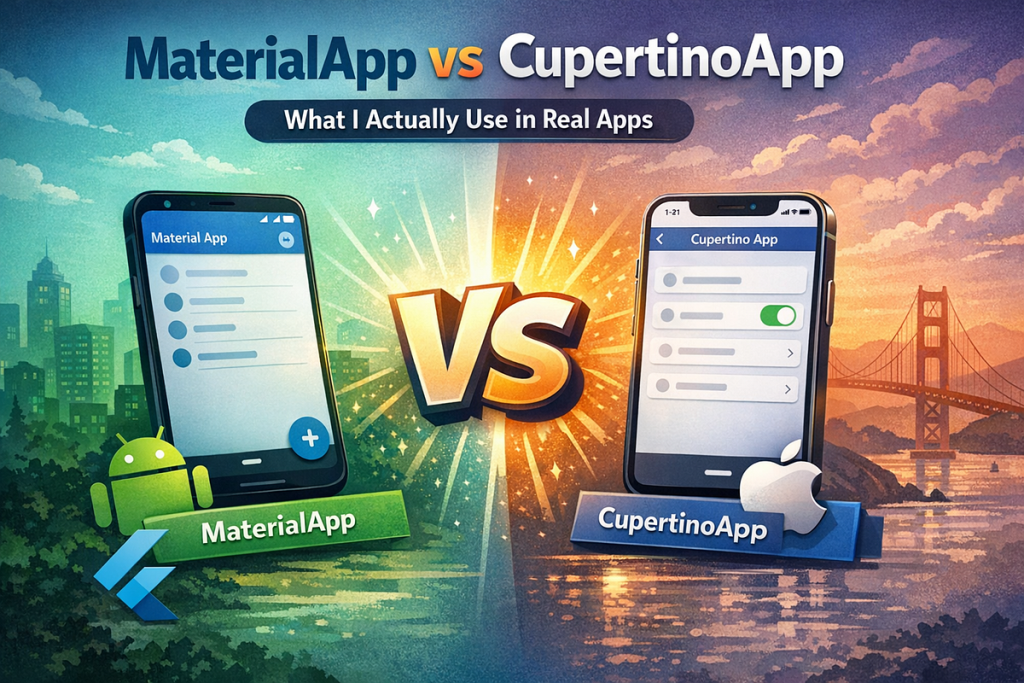
Material & Cupertino
Material & Cupertino trong Flutter 1. Material Material Design là hệ thống thiết kế giao diện người dùng (UI Design System) do Google phát triển. Material cung cấp các nguyên tắc thiết kế, màu sắc, kiểu chữ, bố cục, hiệu ứng chuyển động và các thành phần giao diện nhằm giúp ứng dụng có giao […]
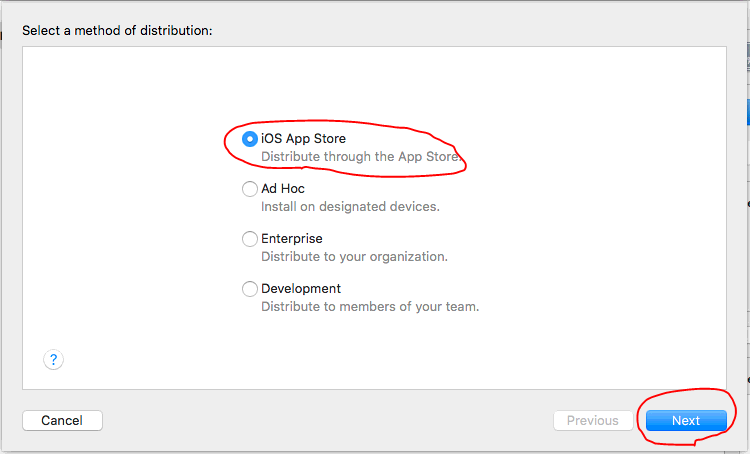
How to create your own install-on-air service for installing ios application
To upload your IPA file to your own server, you can follow these steps: Create a web server: You’ll need a web server to host your IPA file. You can either set up a physical server or use a cloud-based server provider such as Amazon Web Services (AWS) or Google Cloud Platform (GCP). Upload the […]

 Khoá học lập trình game con rắn cho trẻ em